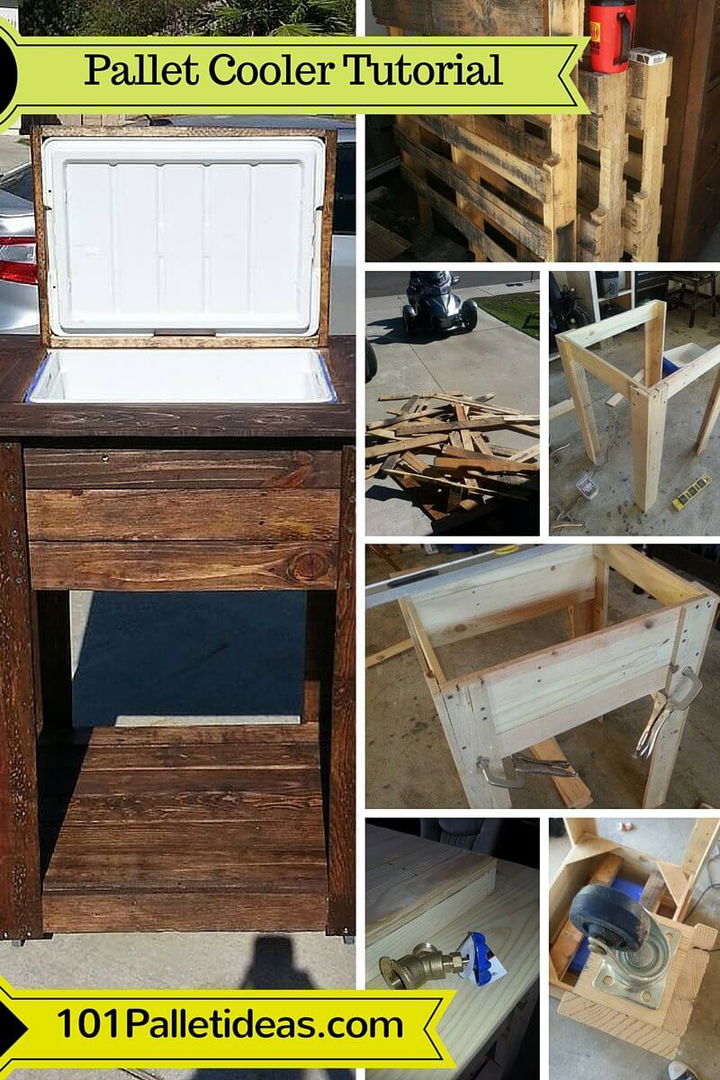
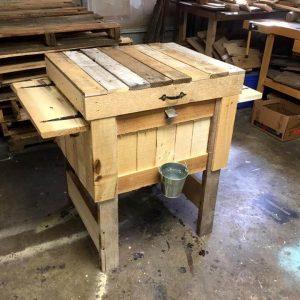
Early melting of ice products is a major issue when the weather becomes hot in summers! Cool sips of cold drinks are just a big pleasure in summer season so how to retain the coldness in your ice products for a long time while being at outdoor like in your garden at den or patio! You will get the answer if you explore the environmental profile and properties of wood! Wood is a highly bad conductor of current and heat its use it just best o make any system isolated that’s why this DIY pallet cooler stand has been made that just provide the wooden holding to inside plastic igloo cooler and cause to retain the inside coldness for a long time!
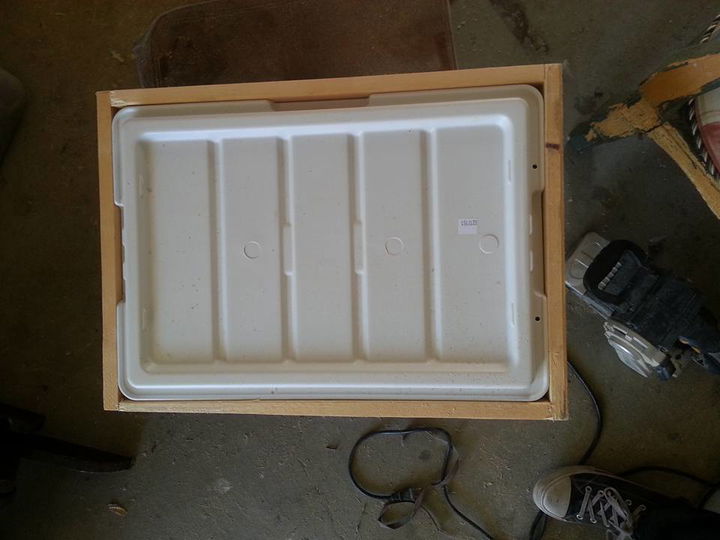
It is just best to serve you as a fridge for your outdoor parties and picnics and you can store you cold-drinks, meat, ice products and whatever you want to get cold by just filling it with ice! You only need to buy an plastic igloo cooler in this project the resting project is all free of cost as you can get all supply of wood from pallets that are always at your hand! Just copy this project at home as we have given all step by step instruction here!
Just checkout the given below DIY pallet tutorial to recover a beautiful ice chest out of pallets!
Supplies:
- Pallets (Where to Get Pallets for Free?)
- Plastic Igloo Cooler
- Hardware Wheels or Casters
- Screws
- Glue
- Stain
- Paint (Optional)
- Valve for Drainage System
- Hardware Hinges
Tools:
- Sawzall Blades (Optional for Dismantling of Pallets)
- Pry Bar and Hand Hammer ( if you don’t have sawzall)
- Measuring Tape
- Pencil
- Kreg Jigs or Hardware Wood Holding System
- Circular or Hand Saw
- Sandpaper
- Screw Driver or Screw-Gun
- Leveling Apparatus
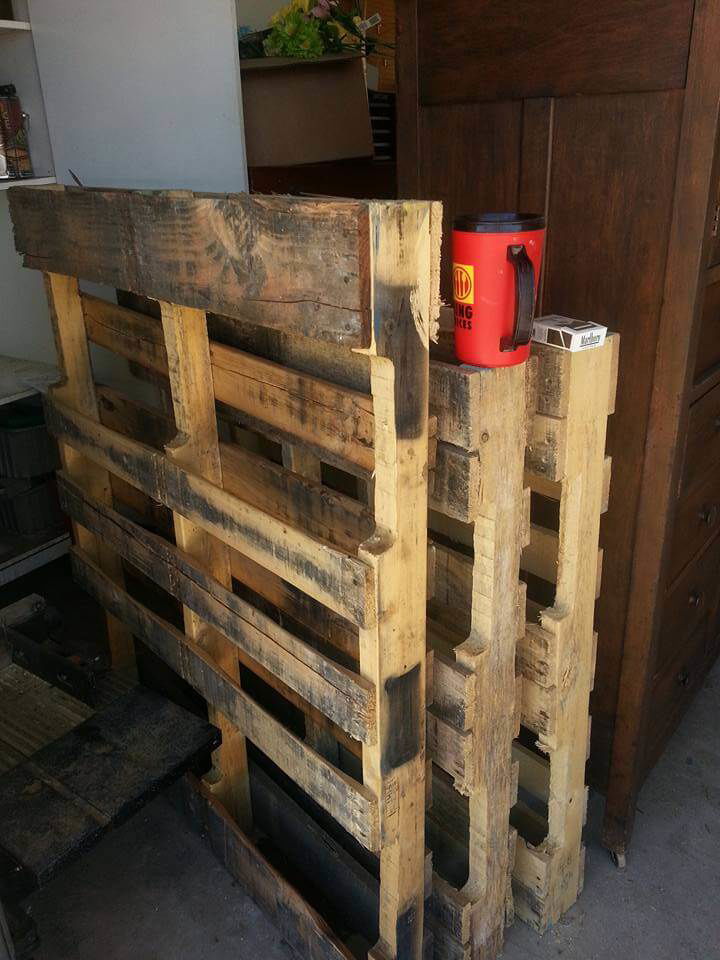
Get pallet with [HT] tags that means they are heat treated, chemical free and safe for interior use! Visit the big food stores, shipping areas, dumping grounds and building construction areas to manage a good supply of pallets! Just wash them to remove the unpleasing stick material and gunk layer!
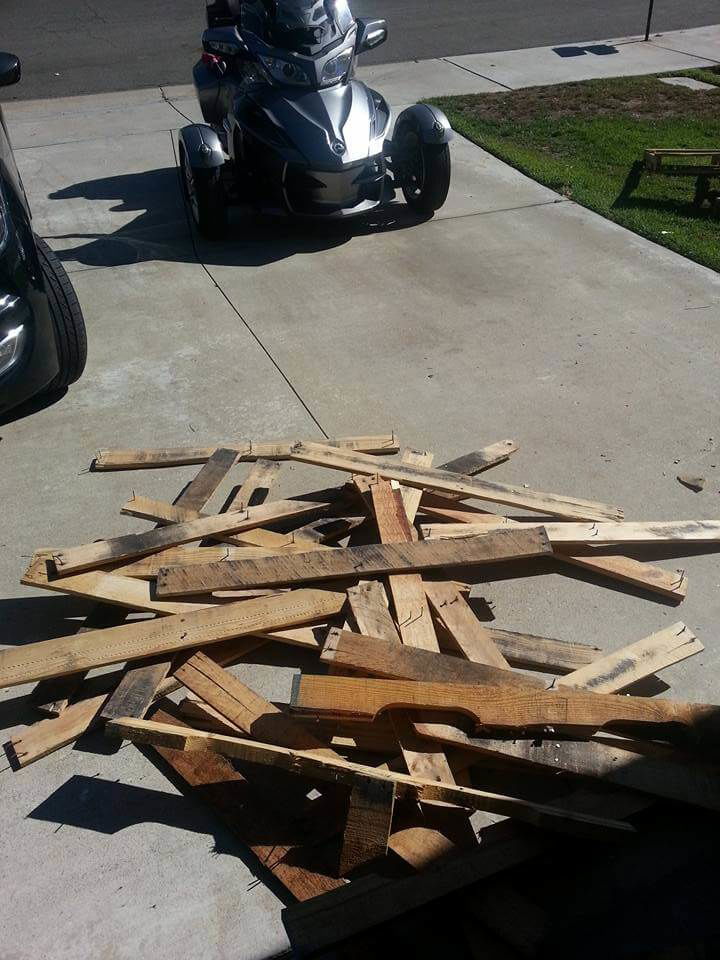
Dismantle the pallets and there are various methods to tear the pallets into piece safely and quickly! It would be better to remove the loosely held nails and dice sections first while disassembling a pallets! Use sawzall blades if you can afford which is the super easy and fastest way to dismantle a pallet boards as these blades just cut all the nails that are holding the pallet together!
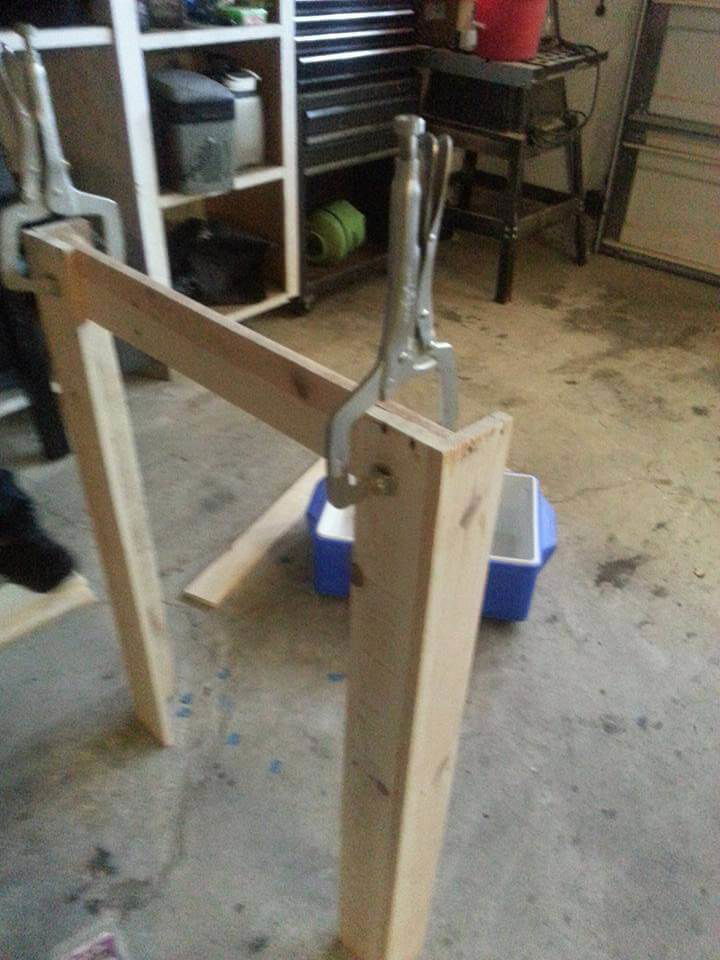
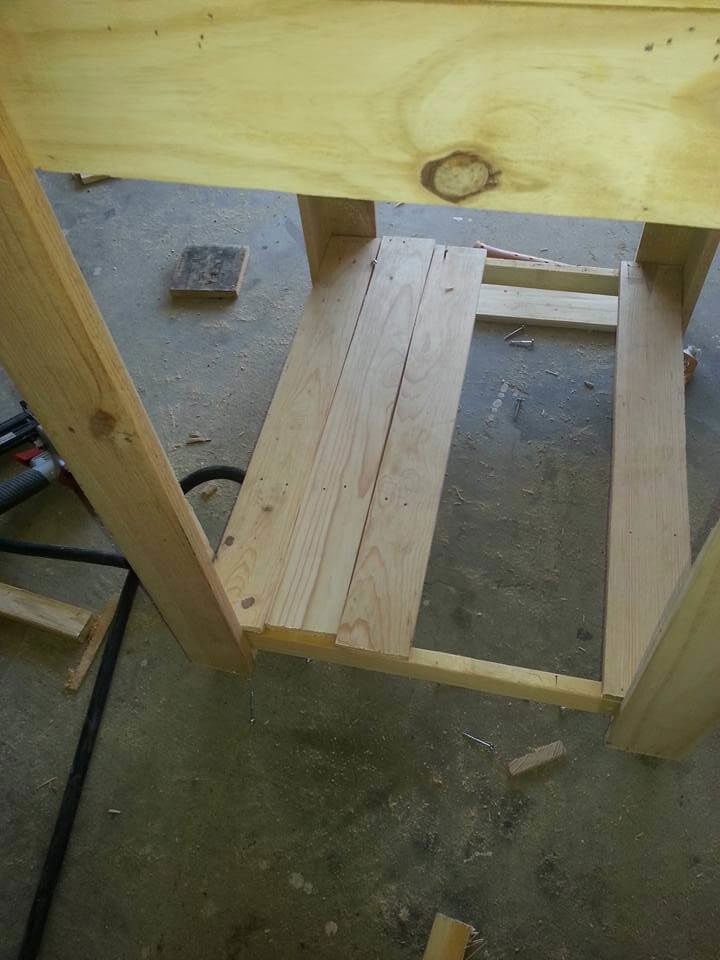
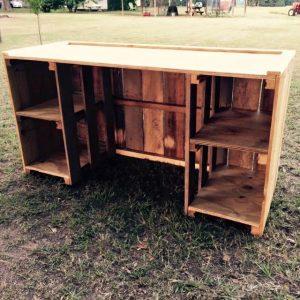
Start by building the base section first! Build two angular legs by joining only two equally thick and long pallet slats in L-shape! Add a cross support using a one more removed pallet plank having length equal to the length of your cooler stand! First measure the dimension to want achieve then go ahead! Add the glue the use hardware holding system for best glue grip!
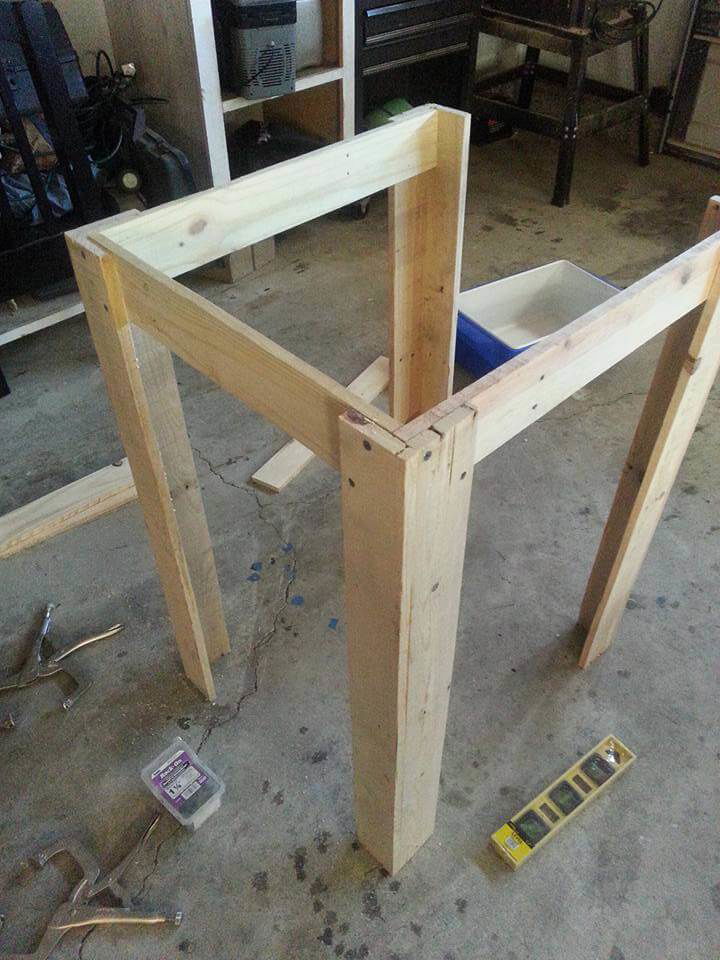
Add more legs and cross supports to build a sturdy square shape base of the cooler! Keep on adding the screws after each attachment to hold all skeleton and parts in place tightly! Just go with the dimensions of the plastic igloo cooler that you have to fit inside of it later!
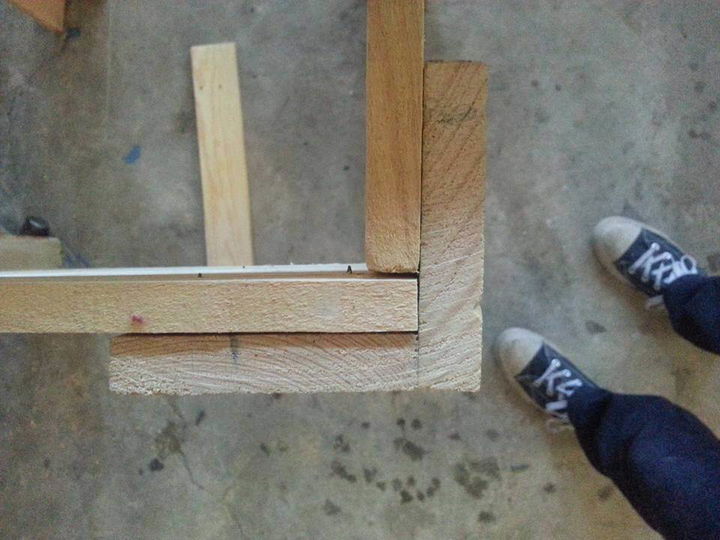
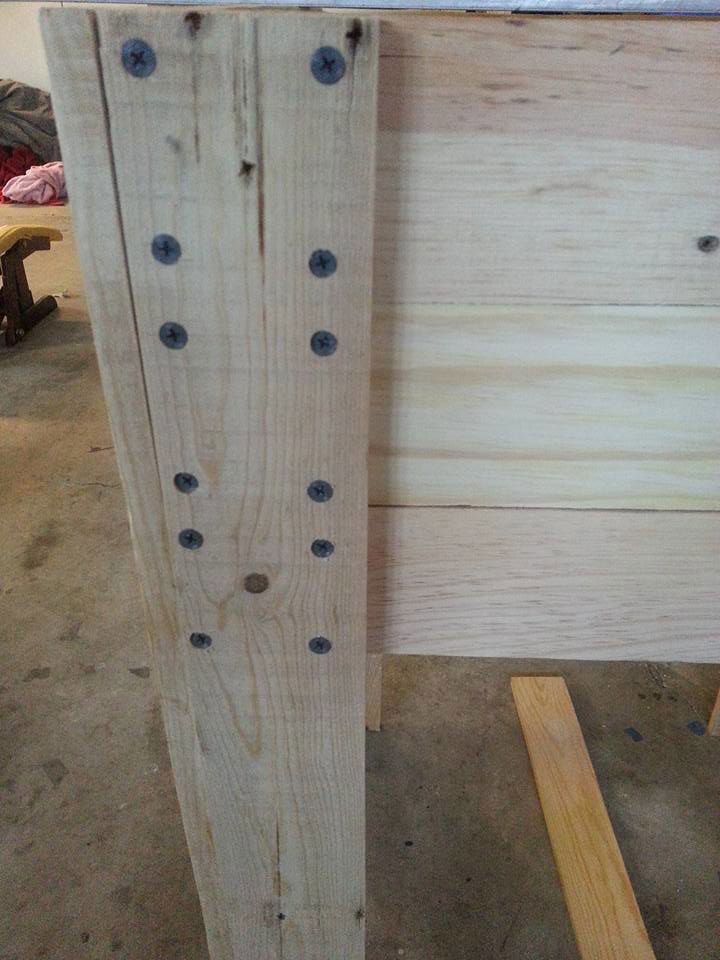
Just measure the width of pallet slats you are using to build up the legs and base section and select the according size of screws to pass through the whole junction of slats!
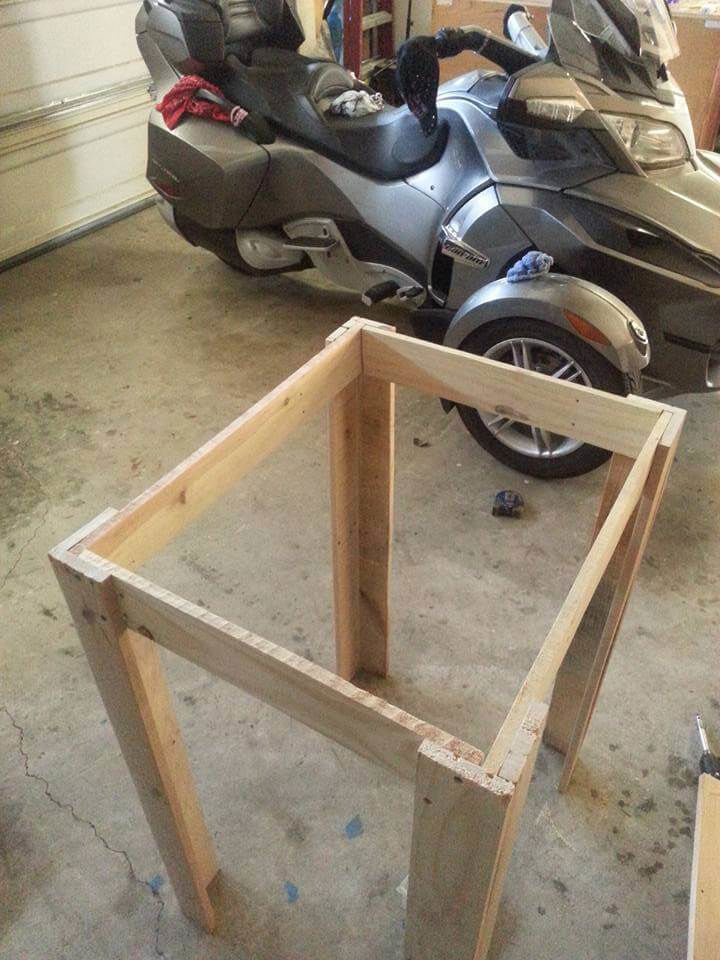
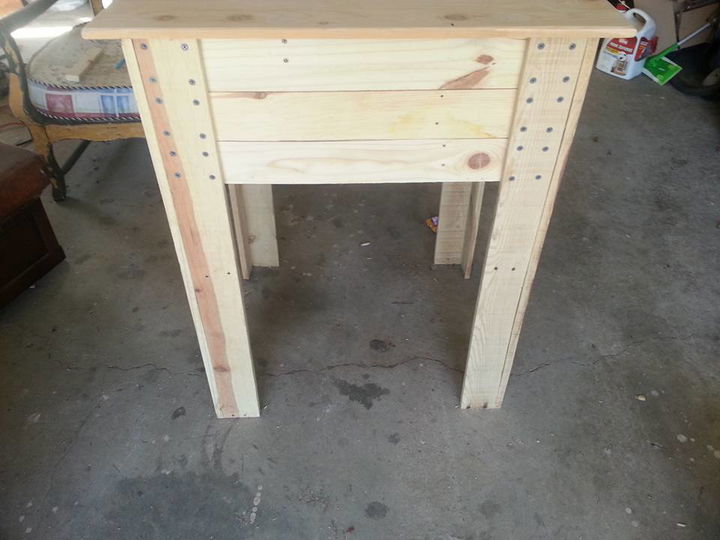
Just complete the base section by making easy but solid attachments and move forward to build the cooler holding sections, dismantle more pallets as you will need more wood to build a wooden cooler holding!
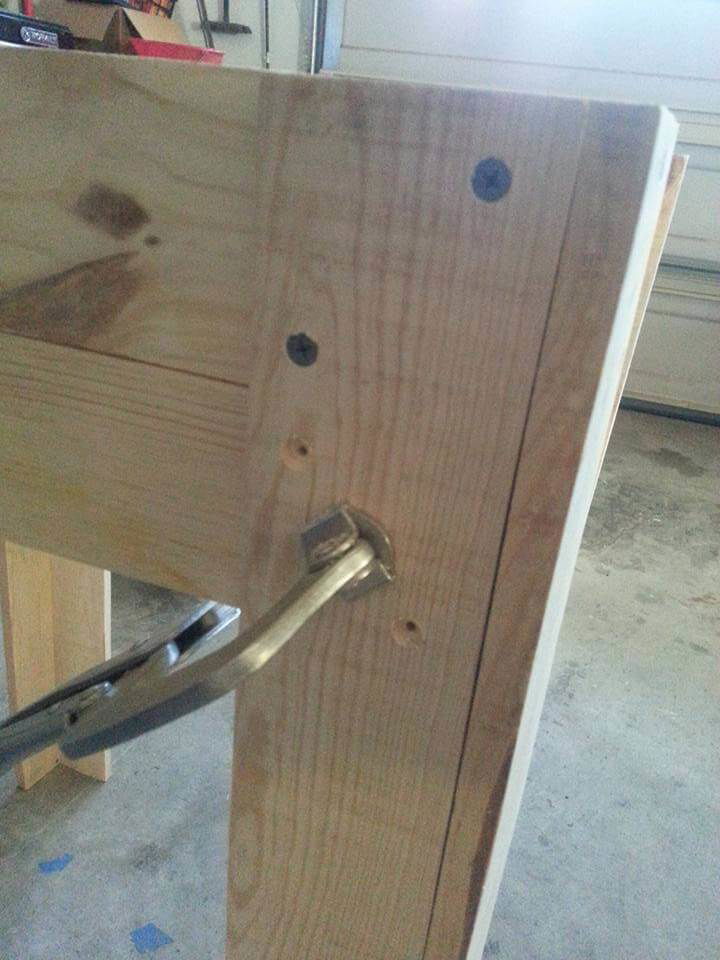
Add more planks using a layer of glue inside and just keep it continue to hold the wood till the glue just dries well! Also add the screws using a screw-driver to just secure the legs!

Just keep on adding more wood as you have to cover the whole layout of plastic igloo cooler inside! Just make sure that base of the cooler should not be visible just cover the areas using extra wood according to the dimensions of the cooler!
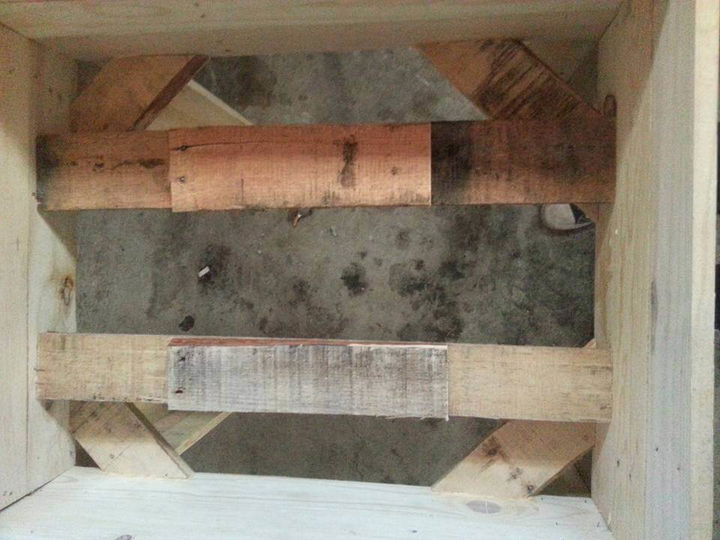
Now build the bottom of the cooler holding section to just make it look like a wooden box! Just add corner supports and some horizontal wooden supports to support the weight of cooler + inside mass!
Put more screws in while you are adding more cross wooden supports don’t leave any section, junction or joint loose or unbound just the glue and hardware for a nice and long lasting assembly of parts!
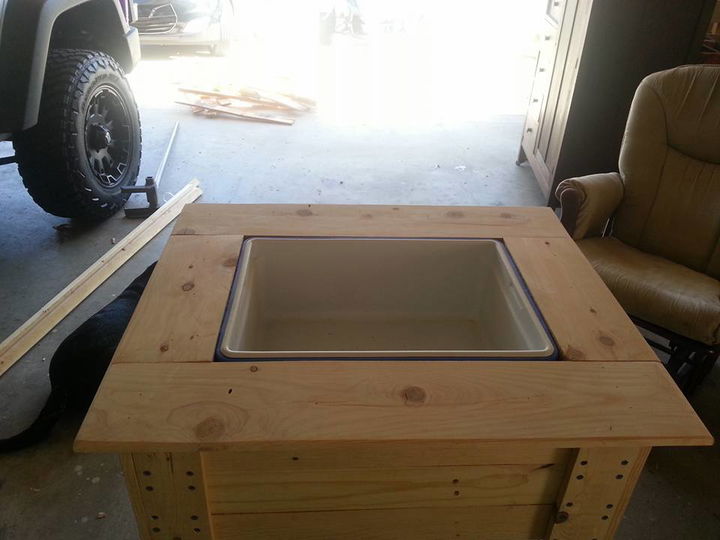
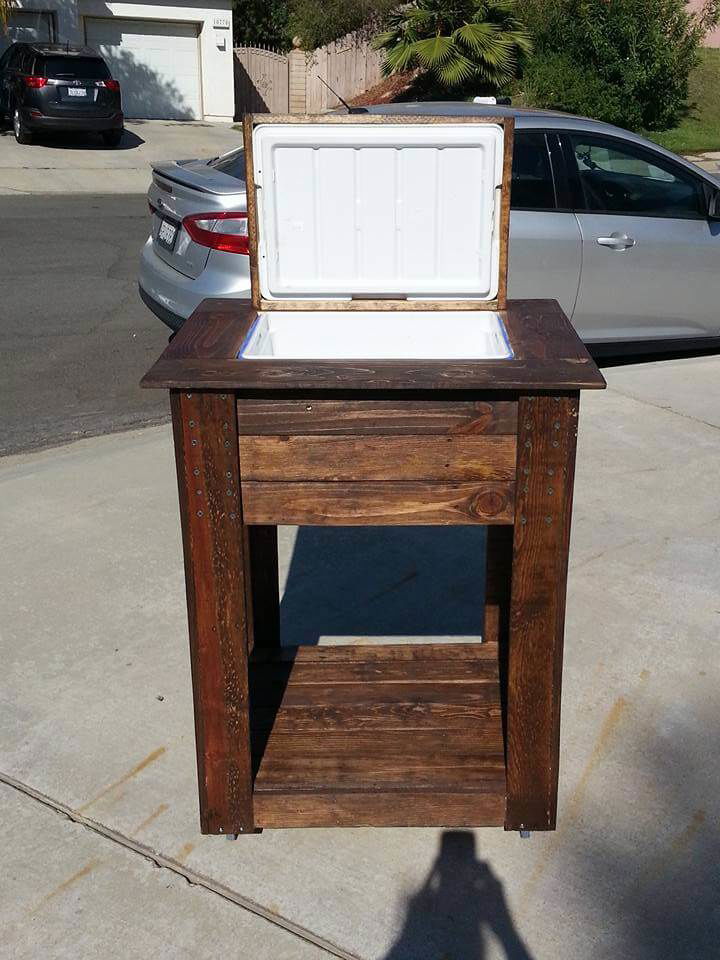
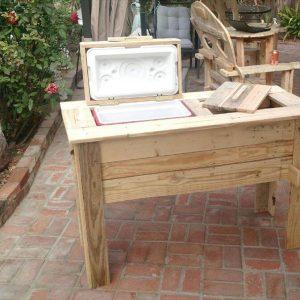
Now just place the plastic cooler inside of the wooden holding and level the wooden boundary to the boundary of the cooler using more wood! The cooler should not move a little bit inside the wooden holding just make everything perfect for amazing final results!
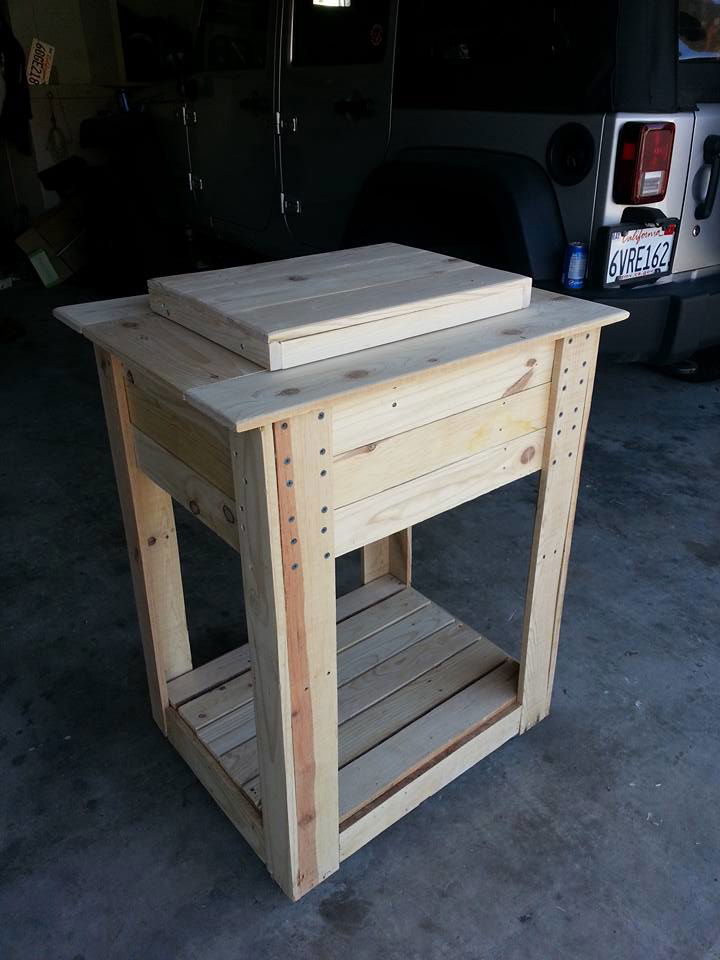
Do sand the wood you are using for a natural bright wooden appearance! Just remove all the splinters and snags too though your sandpaper operation! Now the base section is ready and now you have to add the lid on the top to finish this project!
Just build a wooden tray in accord to the dimensions of the cooler lid and fit the lid perfectly inside of it using glue or hardware! Make sure that lid does not comes out from wooden holding when you just flip it over!
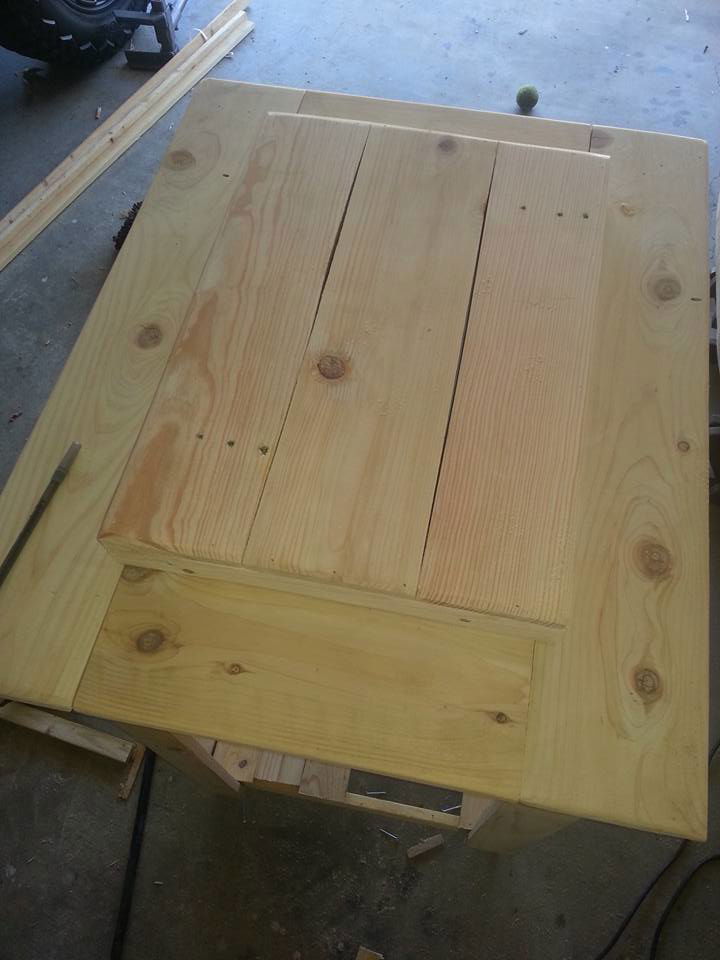
Combine both base and lid section using hardware hinges and this step really need extra care and precision! The attachment should be done in such a way that lid should exactly be on the top of the inside fixed cooler! Precise measurements can lead to better results for sure!
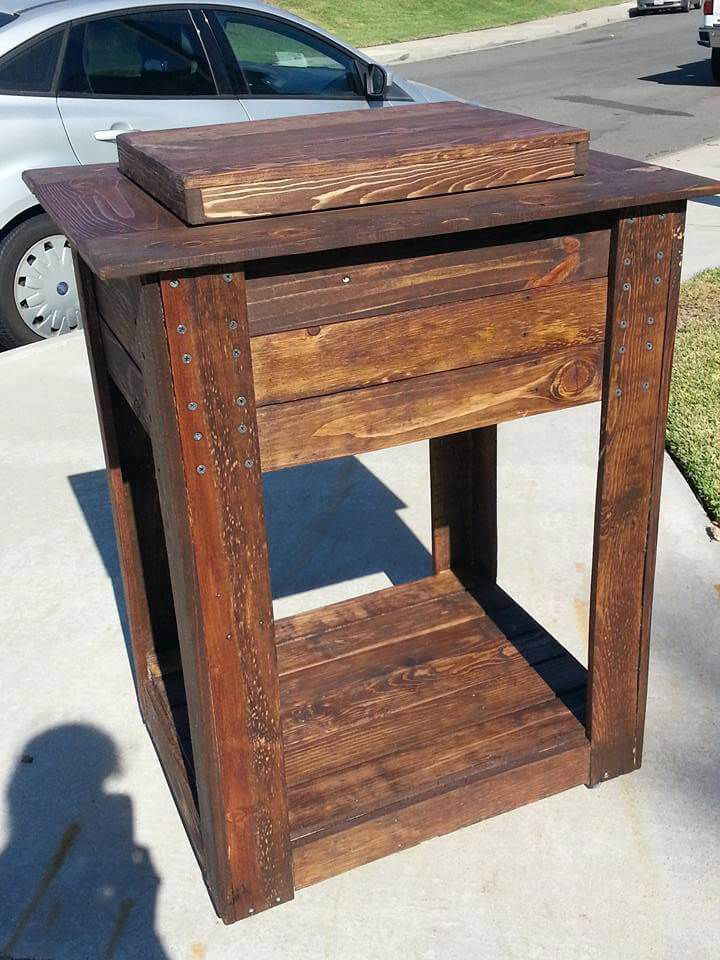
Now the build the bottom shelf, this may be an optional case but will provide you more space to organize more of your stuff! To do this just add the cross supports first then fill up the area by simple alignment of individual pallet planks trimmed down to required and targeted sizes!
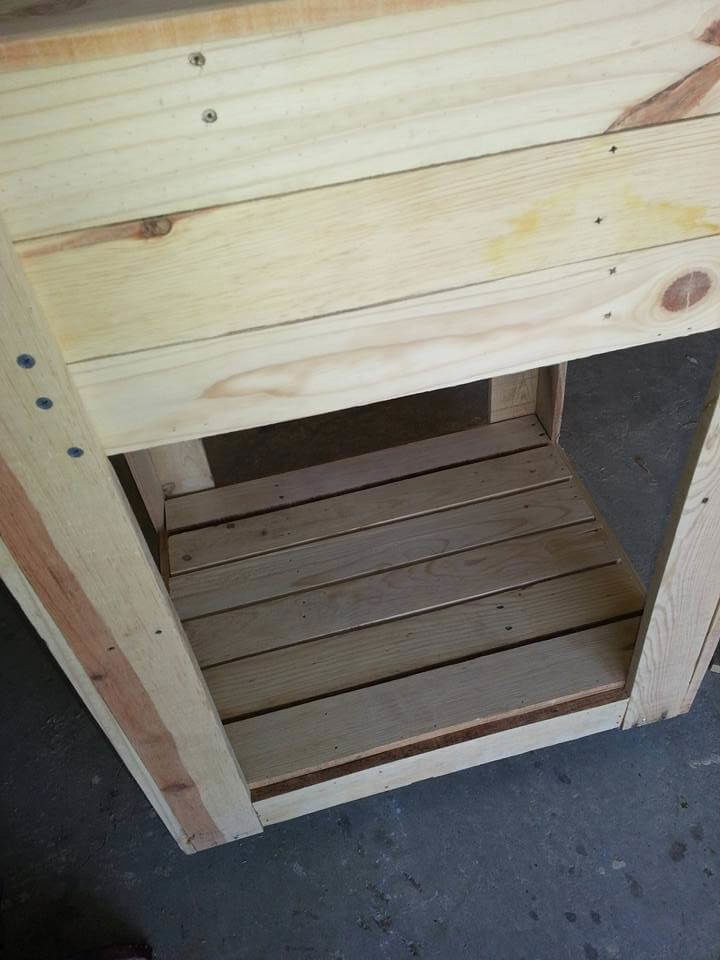
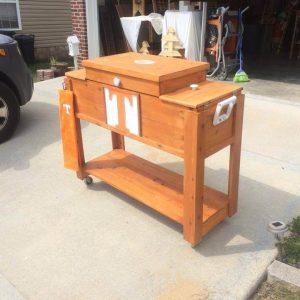
This is what you will finally get, a charming wooden ice cooler stand with a bottom shelf level! Complete this project by going with exactly configured measurements that will save both time and wood!
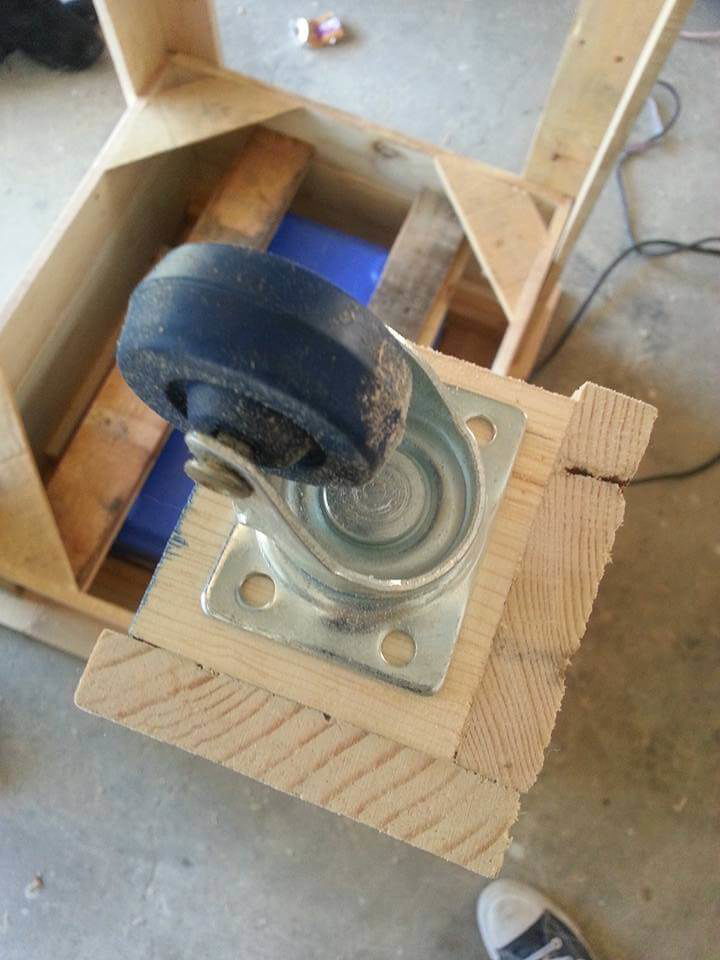
Just flip the whole structure over and fit the wheels to the bottoms of legs! Use little wooden squares and pallet blocks to do this, just put a wheel over and screwed it in on the pointed locations or holes! Wheels just make it possible to effortlessly move the cooler to any direction and will also be an aesthetic feature of the design!

Just cutout the wood for drainage outlet and just fix the valve to drain the liquids at desired rate! You can easily get such a valves from hardware stores or can use the old ones thrown in home trash store to make this project more cost-efficient and budget-friendly!
Here is final wooden cooler stand raised in natural and visually attractive wood tone! Top lid just looks like a book on a table and just makes the fine contact to the the lower wooden level!
How to Paint?
Made by our Member: Tina
14 Creative Pallet Furniture Ideas
Top 104 Unique DIY Pallet Sofa Ideas
Step by Step Instructions to Paint Pallet Wood
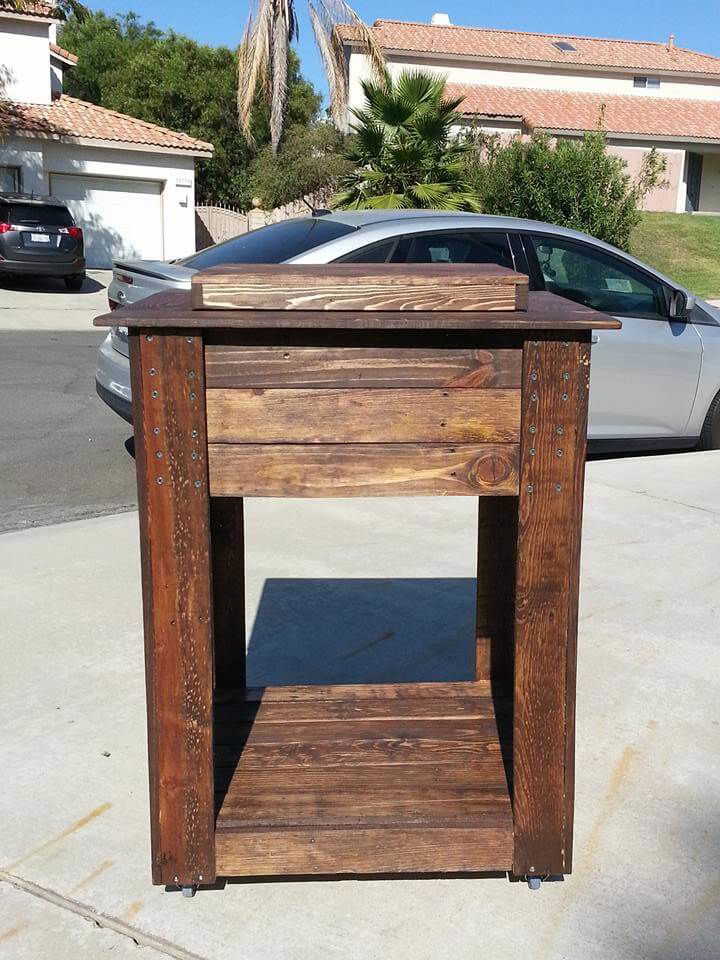
You give a single solid or multiple finishes to wood to suit your aesthetic sense! Paint it to hide all the wood medium and wooden for a more pleasing colorful sensation! If you just want to enjoy a sleek dark or light wood tone then stain is perfect choice that also serve as a perfect solution to avoid early weathering and signs of aging to wooden surfaces!

Dark brown shade of stain has been selected in this case and whole cooler design has been finished with a few coats of it for a chocolate tone of wood with amazing shine and luster! Metal wheels and screws also provide the amazing shiny metal touch for more visual attractiveness!
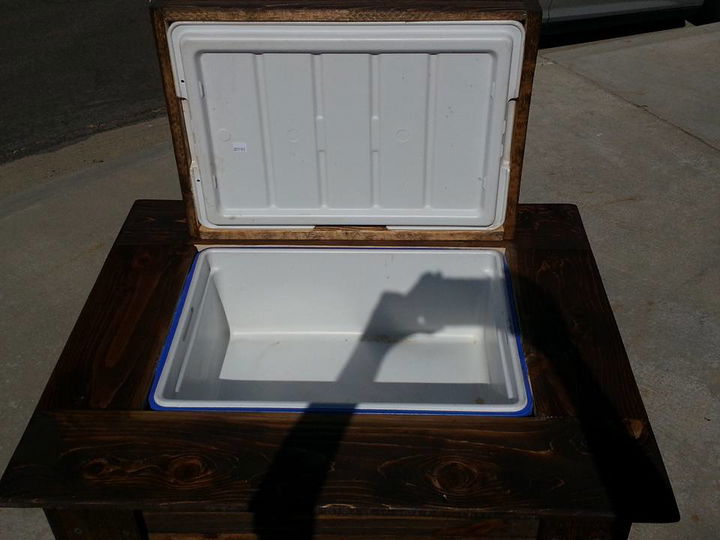
Now the cooler is just ready to use just apply a handle on the top for easy of opening the lid and just fill up the cooler with ice and drink bottles to let yourself feel cool while being in your garden or at patio in deadly hot summer weather!
This will serve you as all time available source of fresh ice and cold drinks at outdoor where there is mostly no fridge! It will be also be an easy solution to keep you ice product cold at outdoor for a long time!
Whole of the idea is based thermal conductive properties of wood! Wood is just a bad conductor of heat and current so use of wood is best to isolate a medium or system, that’s why this amazing outdoor cooler has been made for long retaining of ice and coldness of the beverage at any outdoor area!
Made by our Member: Tina
14 Creative Pallet Furniture Ideas
Top 104 Unique DIY Pallet Sofa Ideas
Related Pallet Ideas to Try:
 Bonfire Pallet Drink Cooler – Tutorial
 DIY Pallet Upholstered Sectional Sofa : Tutorial
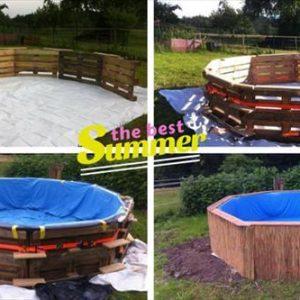 DIY Pallet Swimming Pool – Tutorial
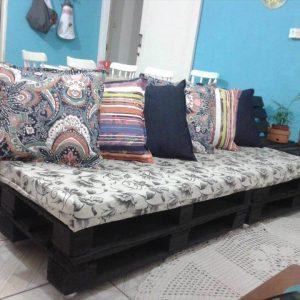 DIY Pallet Sofa Tutorial
 DIY Pallet Cooler – Made from Free Pallets
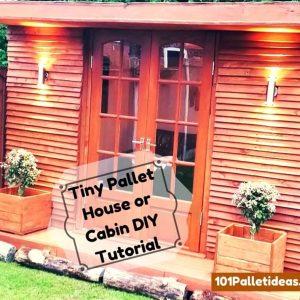
 Tiny Pallet House or Cabin: DIY Tutorial
 DIY Pallet Desk Tutorial
 Pallet Outdoor Cooler / Ice Chest with Wheels
 DIY Pallet Cooler Stand / Ice Chest
 Tutorial: Pallet L-Shaped Sofa for Patio / Couch
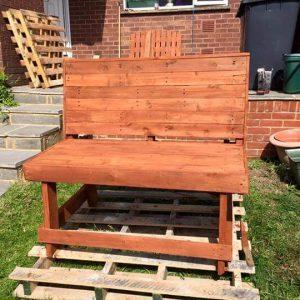 Outdoor Pallet Bench!! Tutorial
 Pallet Cabin Tutorial Part 2: Sun Glass Roofing